


Quick Search
Digital Drawing Tablet
Drawing Monitor
Accessories
Language
Please select your country/region
North America
South America
Oceania
Europe
Quick Search
Digital Drawing Tablet
Drawing Monitor
Accessories
Please select your country/region
North America
South America
Oceania
Europe
UE Series Drawing Monitor
01 Product Description
1.1 Product Overview
1.2 Connection
1.3 System Compatibility
02 Driver Guide
2.1 Driver Download
2.2 Driver Installation
2.3 How to Use Driver
2.4 Uninstallation
03 Q&A
1.1 Product Overview
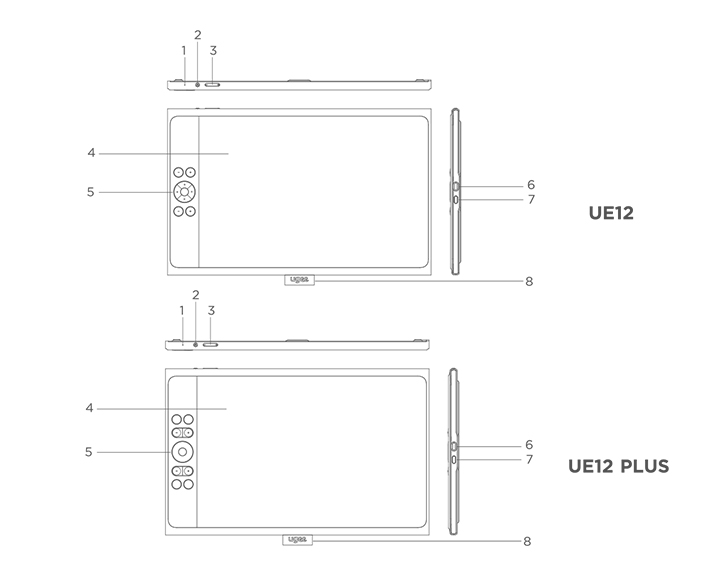
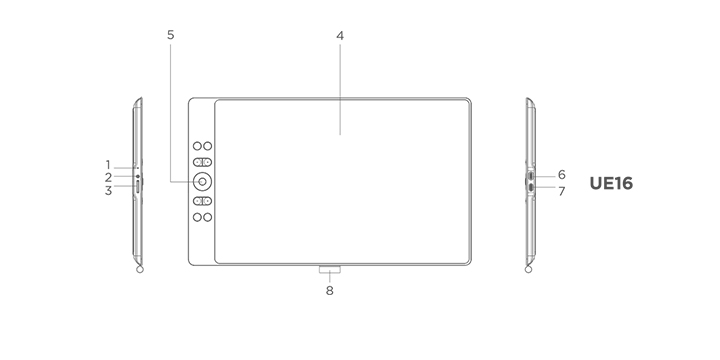
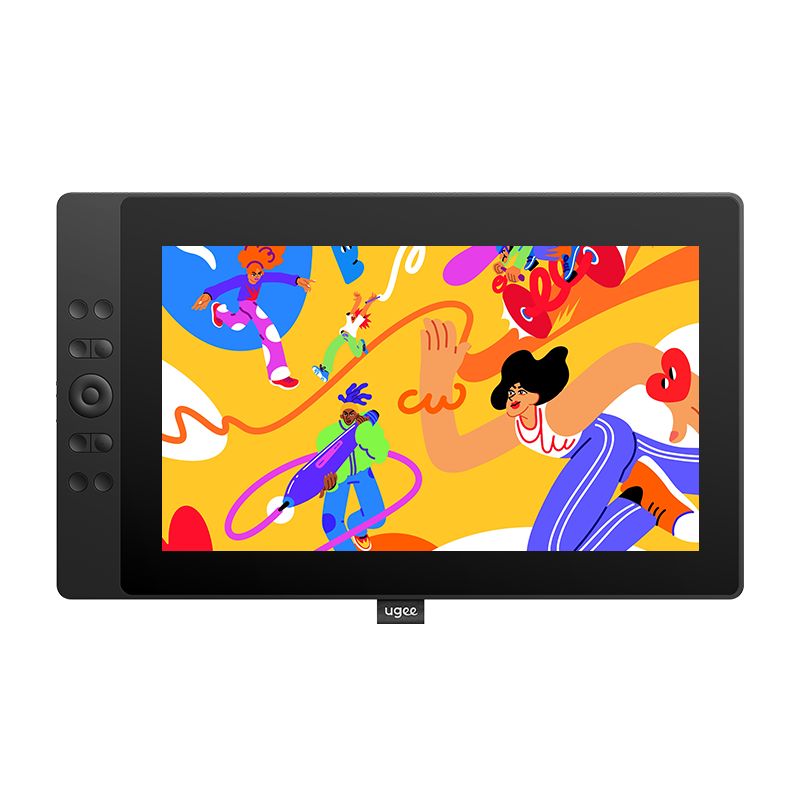
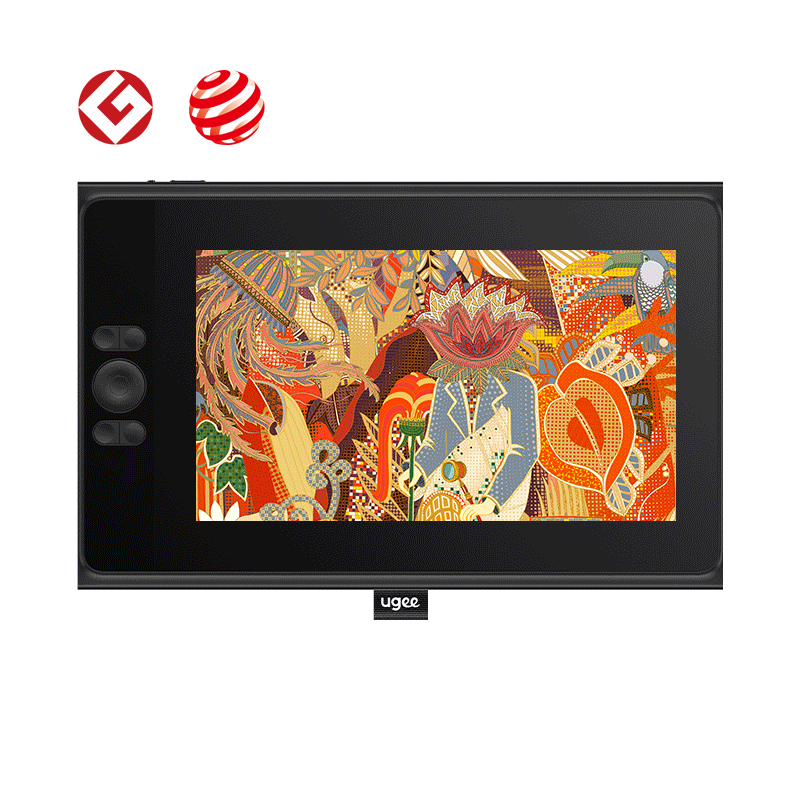
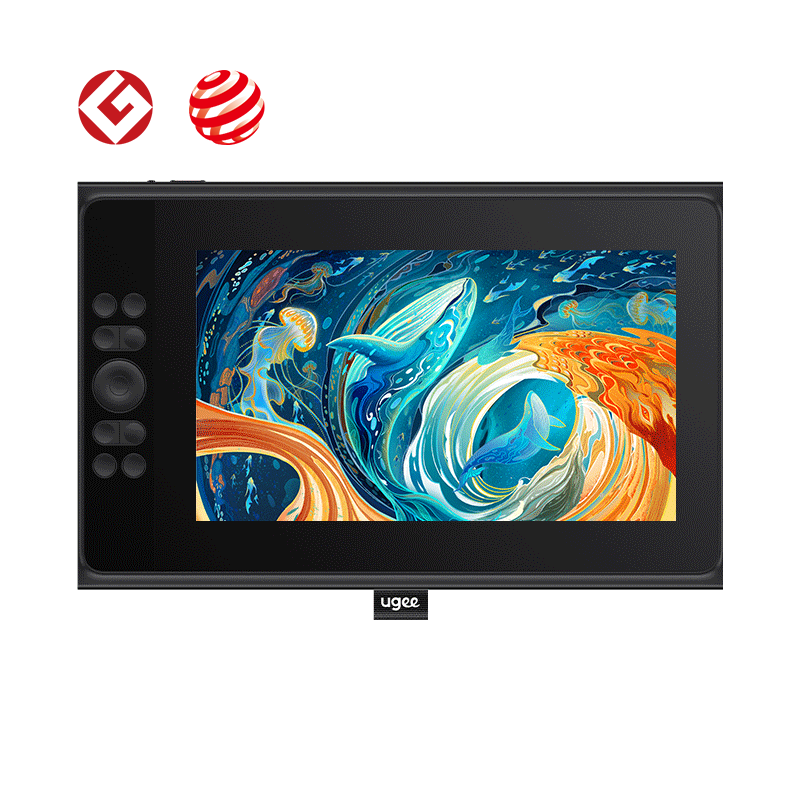
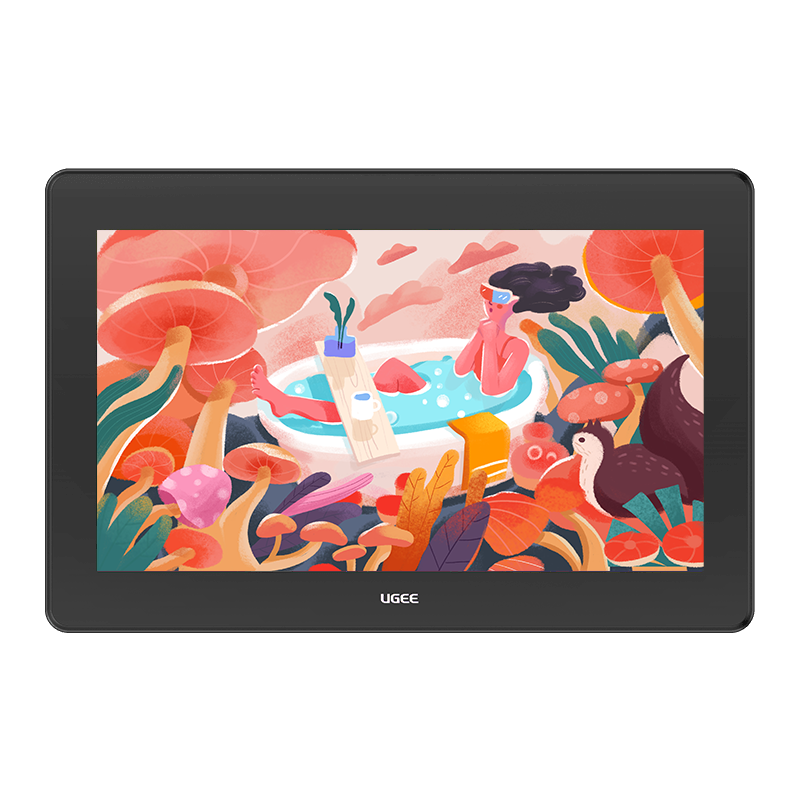
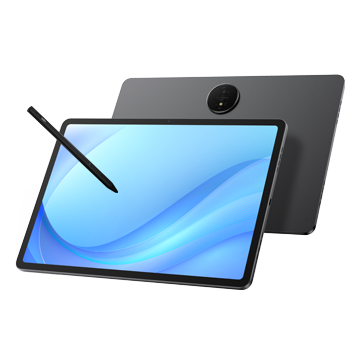
1.1.1 Drawing Monitor
① Indicator Light
a. Press the power button to turn it on, and then the blue light will be steady on, and press the power button again to turn it off
b. Standby status, the light will be steady orange
c. To enter the Drawing Tablet mode, you need to long press the power button for 3 seconds, and then light will flash blue and orange alternately. Press the power button again to return to normal mode
② Power button
③ Brightness up / down
a) Press the brightness up/down button to adjust the brightness
b) Simultaneously press the brightness up and down button to enter color space switching mode
④ Display/Work area
⑤ Shortcut keys
⑥ USB-C Port 1/
⑦ USB-C Port 2/
⑧ Pen sleeve
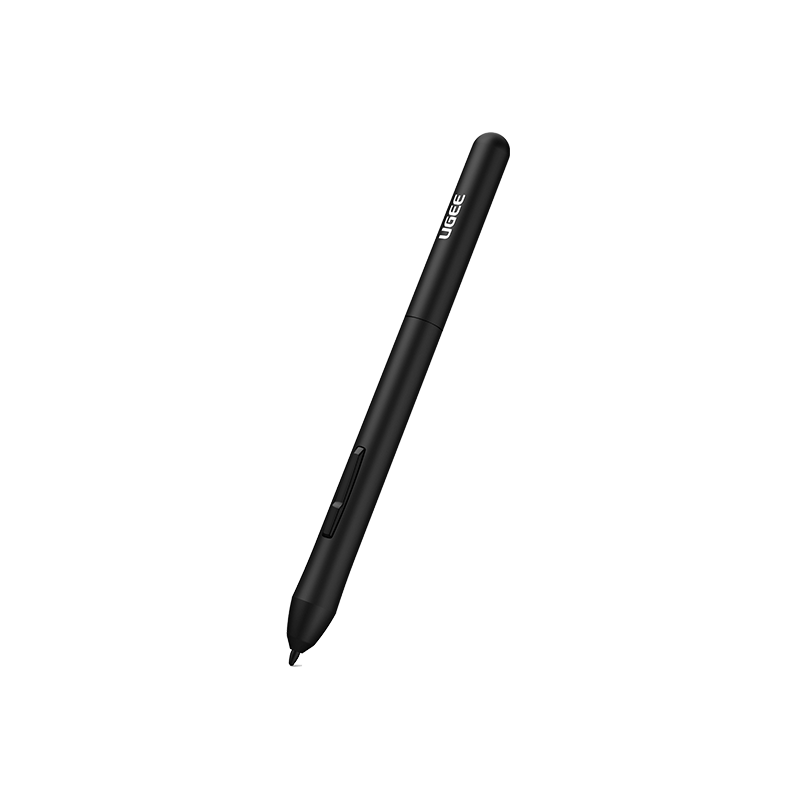
1.1.2 Stylus
You can modify/disable the shortcut button function on the pen through the driver.
1.2 Connection
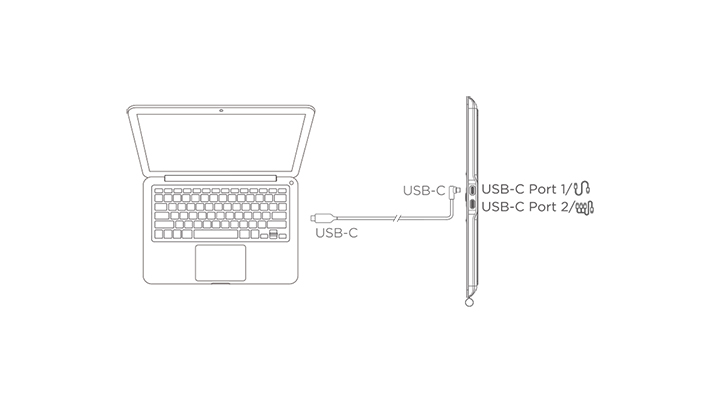
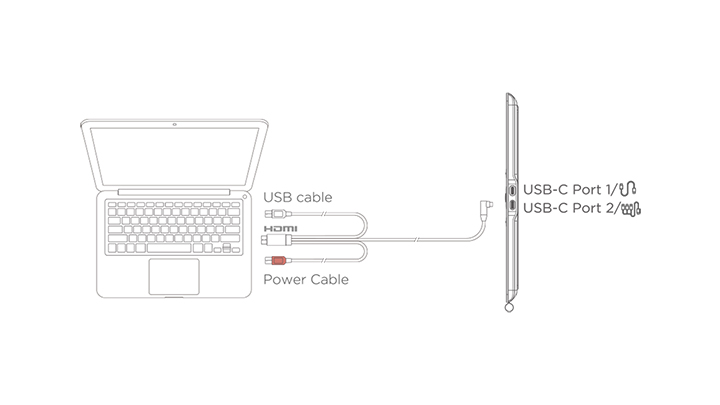
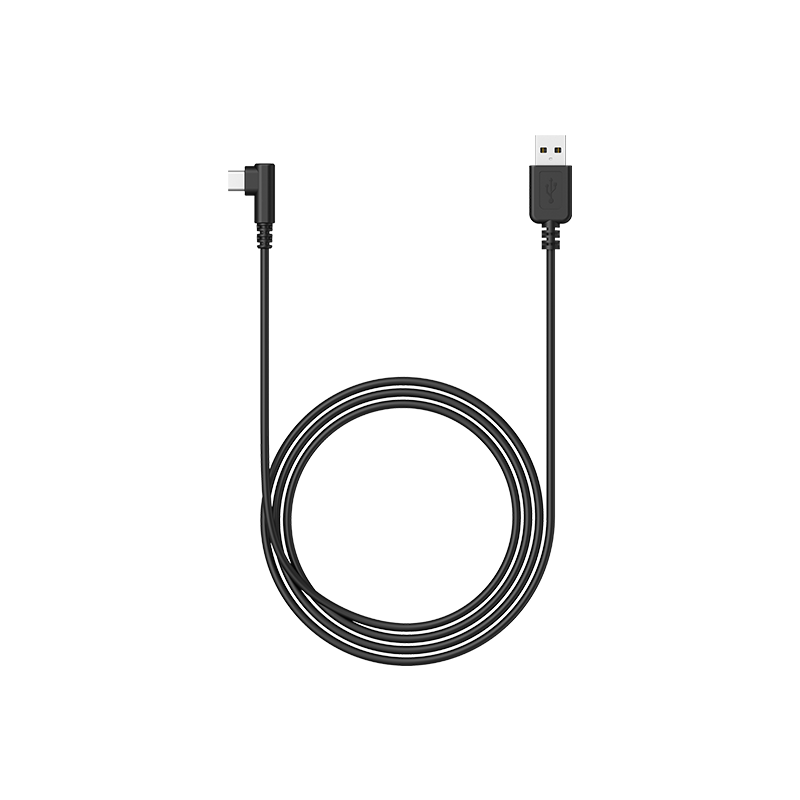
1.2.1 USB-C Connection
Please connect the computer and the drawing monitor via the USB-C to USB-C cable. lf the drawing monitor does not light up,please connect the drawing monitor via the USB-A to USB-C cableto the power adapter for power supply. (The adapter is notincluded, please purchase a 12.5W or higher power adapterseparately)
*Image is for illustration only
* Your computer should have a USB-C port that supports graphics output (DisplayPort™ Altemate mode).
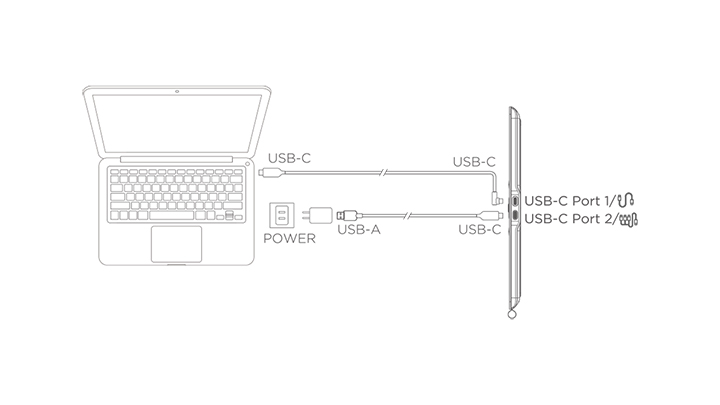
1.2.2 3-in-1 Connection
* Image is for illustration only
* The 3-in-1 cable is not a standard and needs to be purchased separately. This cable is specifically designed for this product, please purchase it through official channels. Cables purchased through other channels may not be able to be inserted into the machine for normal use.
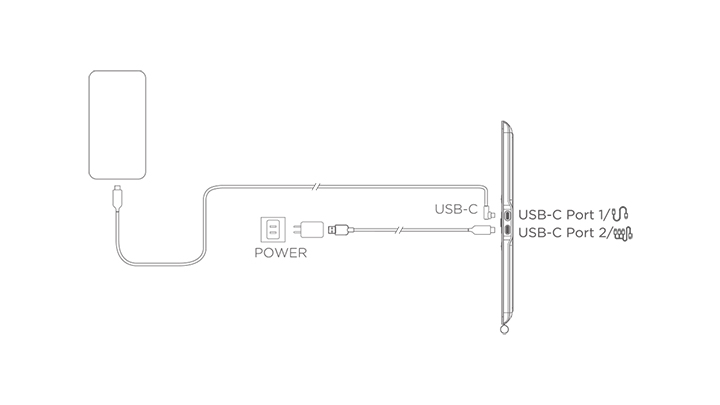
1.2.3 Android Phone/Tablet Connection
1) Connect the drawing monitor to your device directly with the USB-C to USB-C Cable.
2) If the drawing monitor cannot light up or the phone/tablet consumes electricity quickly, please connect the power adapter to your device with the USB-A to USB-C cable. (The adapter is not standard, please purchase separately)
*Image is for illustration only
*For compatible phone models, please refer to the official website information
1.3 System Compatibility
Windows 7 or later
Mac OS X 10.12 or later
Android 10.0 or later (USB3.1 DP1.2)
Chrome OS 88 or later
Linux
2.1 Driver Download
1) Enter "www.ugee.com" into your browser to access the ugee official website.
2) Navigate to the download page, then download and install the latest driver according to your device model.
3) After the driver is installed, a ugee icon will appear on the computer desktop. Run the driver program and set parameters. And test the product functionality.
Attention before installing the driver:
1) Uninstall any other brand's drawing tablet/screen drivers.
2) Close all design, painting, and office software such as PS, Sai, and WPS.
3) Exit all antivirus software such as 360 and Poison King.
4) You can customize functions related to the drawing monitor and stylus within the driver program.
2.2 Driver Installation
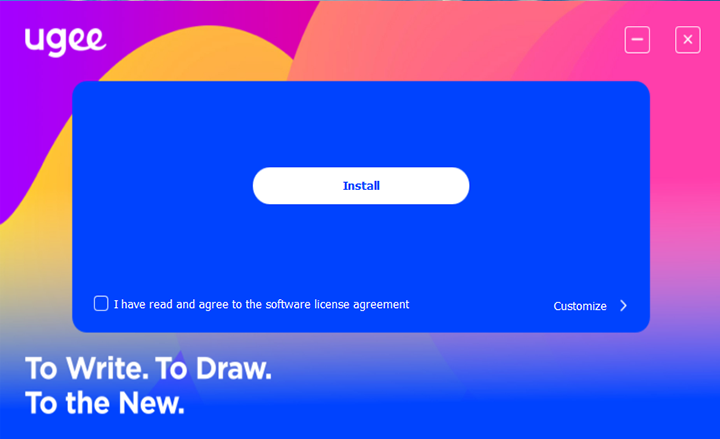
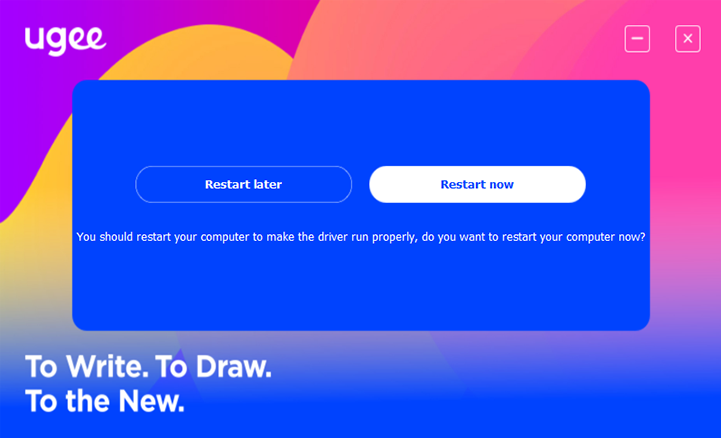
2.2.1 Windows
Unzip the file, run the "exe" file as an administrator, and follow the prompts to complete the installation.
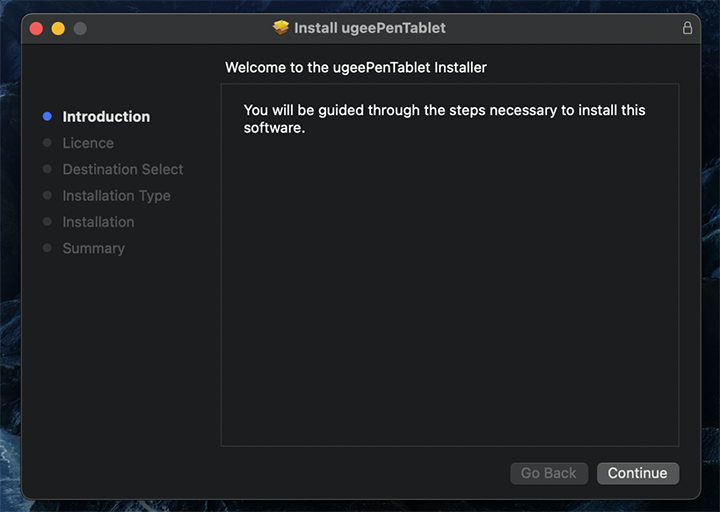
2.2.2 MacOS
Unzip the file and run the .dmg file. Follow the steps below to install the driver.
Step 1: Continue
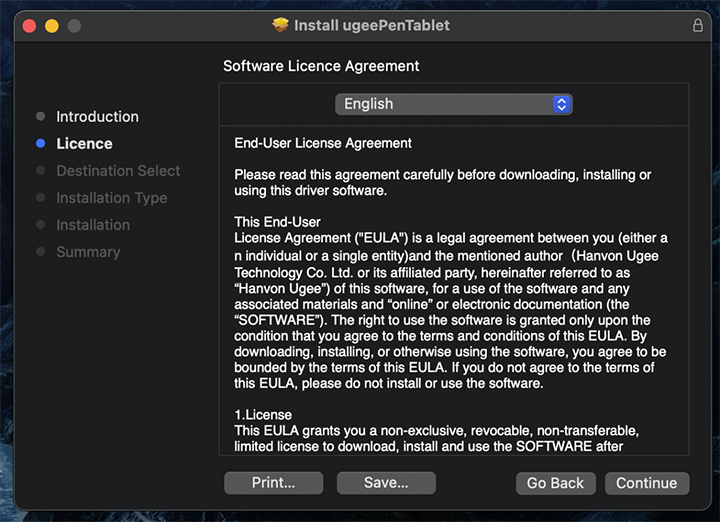
Step 2: Continue
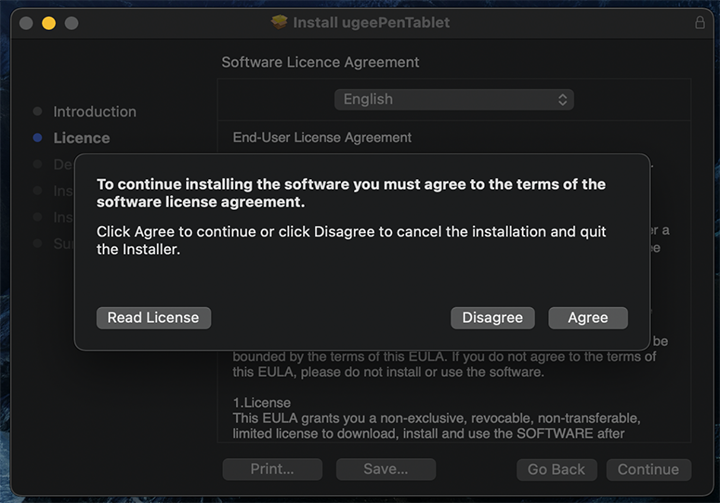
Step 3: Accept
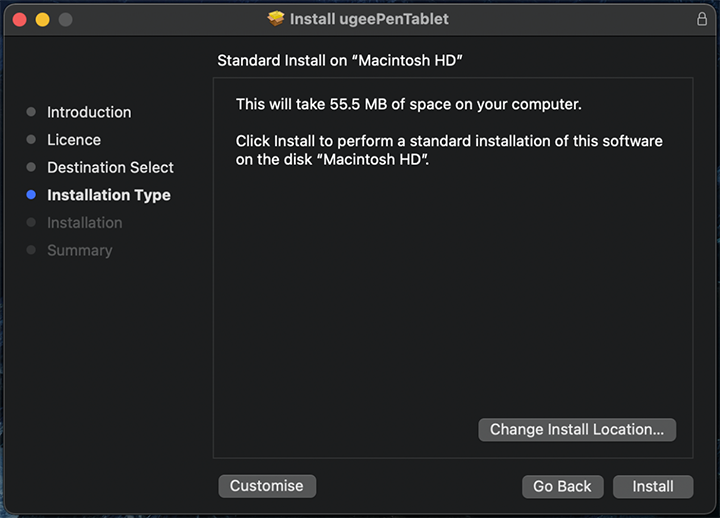
Step 4: Install
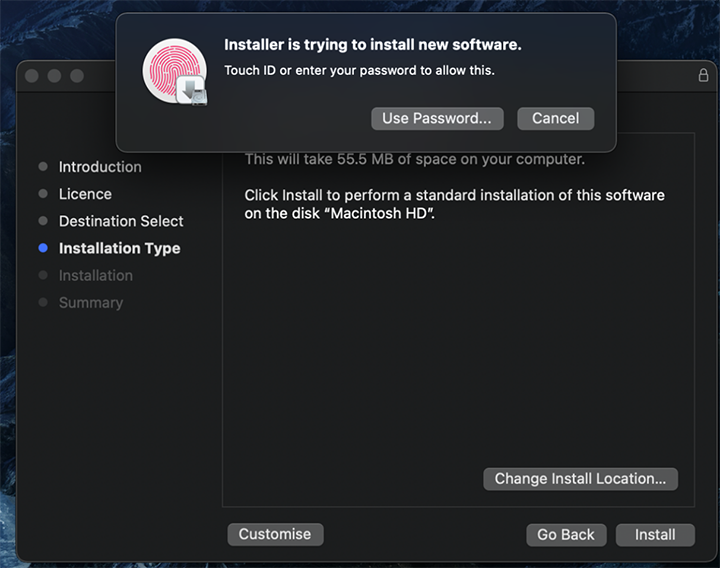
Step 5: Enter password
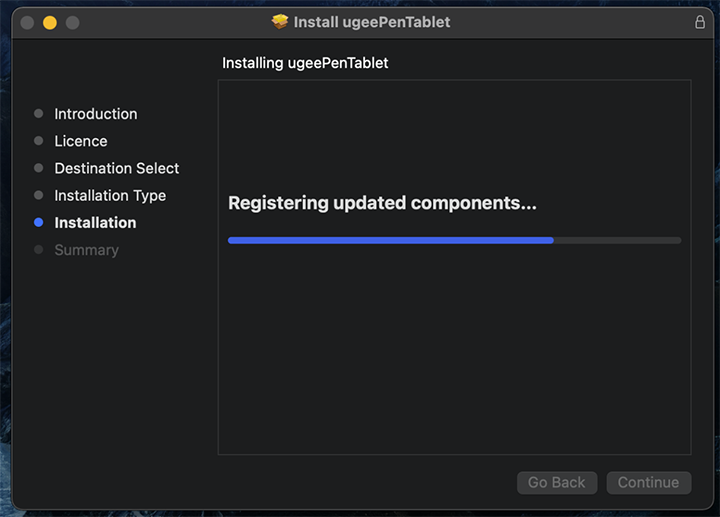
Step 6: Install driver
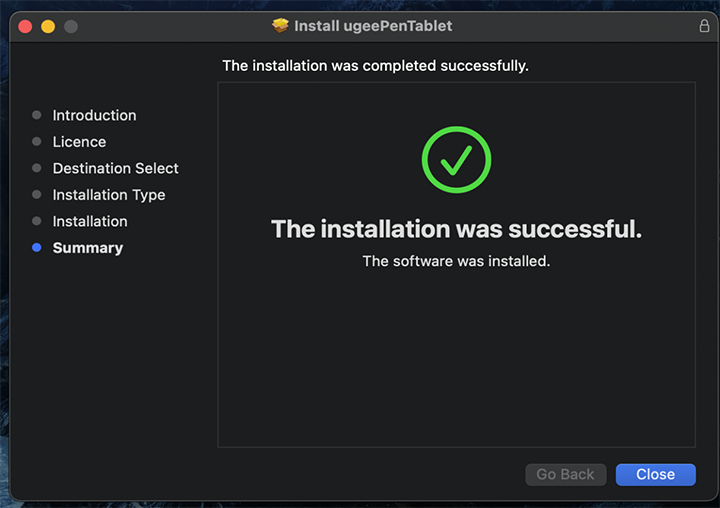
Step 7: Installation complete
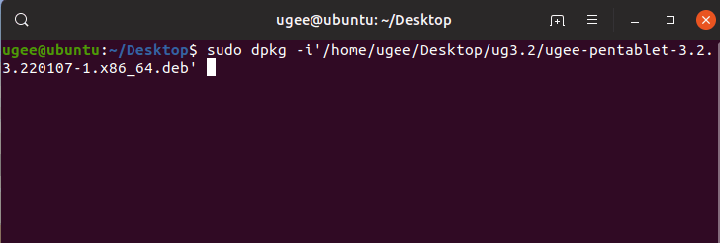
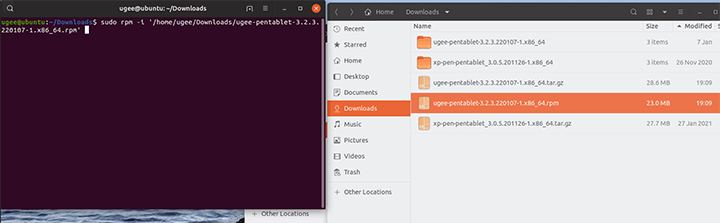
2.2.3 Linux
Deb: Enter the command "sudo dpkg -i", drag the installation file to the window, and execute the command.
Rpm: Enter the command "sudo rpm -i", drag the installation file to the window, and execute the command.
Tag.gz: Unzip the file, enter the command "sudo", drag install.sh to the window, and execute the command.
2.3 How to Use Driver
2.3.1 Connect to Device
The driver will run automatically after being installed. If it does not run automatically, go to the driver folder and run it manually.
Windows program path: Start→ugeeTablet
Mac program path: Application→ugeePenTablet→ugeeTablet
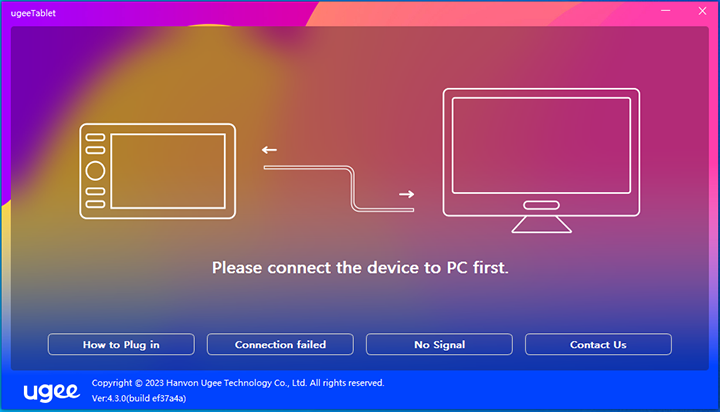
If the device is not connected or the connection fails, you will see the following prompt. In this case, restart your computer or the driver to connect it again, or contact our service staff for support.
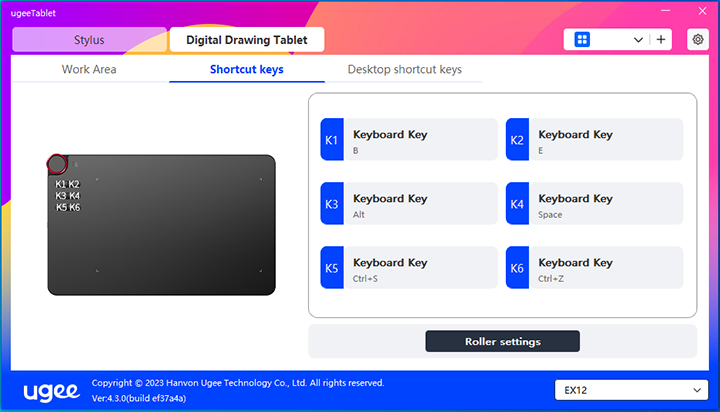
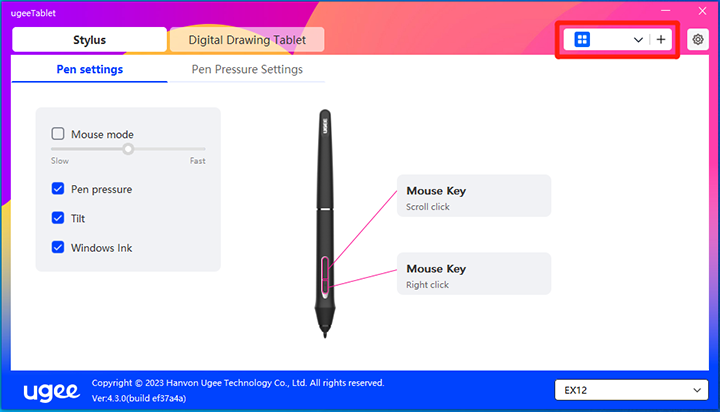
If the device is connected successfully, its product model will be displayed in the bottom right corner of the display, for example, EX12 as shown in the image.
You can connect multiple devices via the driver at the same time. Click on drop-down menu to select device to activate. Customize the device's settings after switching to that device. All changes made will only apply to that device.
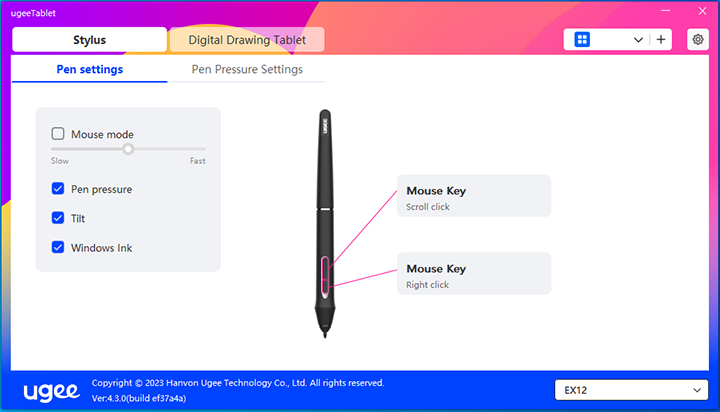
2.3.2 Pen Settings
2.3.2.1 Pen Shortcuts
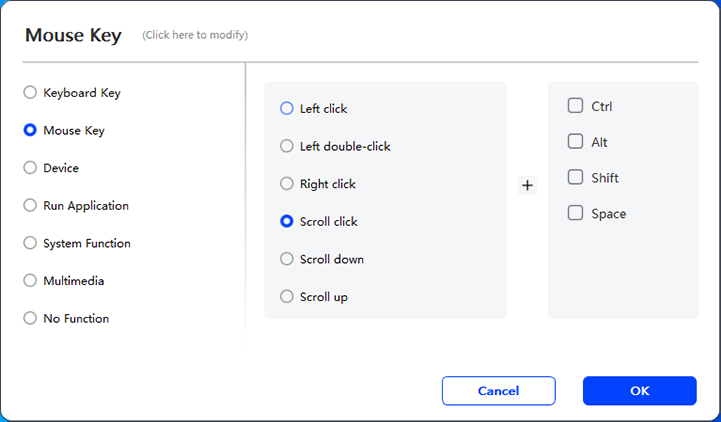
Click the target button to open a pop-up window and customize key functions. You can select five types of shortcut keys: Mouse, Keyboard, Device, Run Application, and Disable.
Mouse Control:
Set mouse and keyboard combination keys. For example, if you select Shift and Left Click, you can execute the assigned shortcut command if the software supports this key combination.
Keyboard:
Set keyboard shortcut. For example, set it as Alt+A in 3D MAX so the alignment tool can be used.
Clear: Clear all combination keys in the input box
Delete: Delete the last combination key
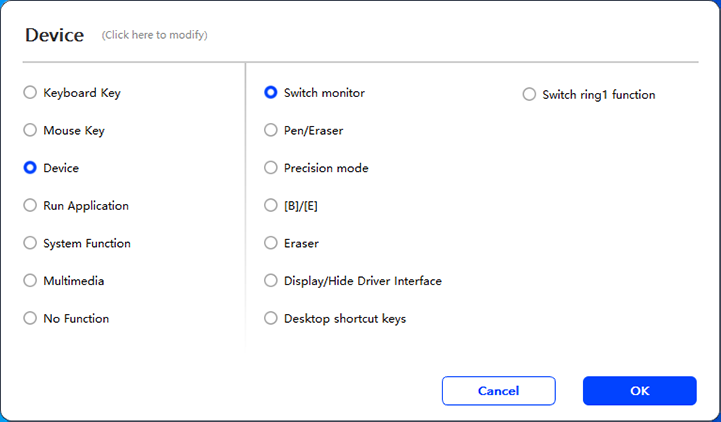
Device:
Execute selected function.
Precision mode: It limits the Work Area to a small area. This function allows you to draw more precisely in the area.
Run Application:
Run the selected application.
Pen pressure:
After checking, you will not feel the pressure of the stylus when using it.
Tilt:
After checking, this will disable the tilt effect of the stylus.
Mouse mode:
When you remove your pen, the cursor will stay where you left it, similar to operating a mouse. Select this mode to adjust the speed of the cursor on your device. If you do not select this mode, the pen mode applies by default.
Windows Ink (for Windows only):
Windows supports handwriting functions. If you need to use this function in Microsoft Office/Whiteboard or other software, please do not turn it off.
2.3.2.2 Pen Pressure Settings
The sensitivity of the pressure can be adjusted by modifying the Pen Pressure curve or using preset pressure options.
Test your current pen pressure using the Pressure Test.
2.3.3 Pen Tablet/Display
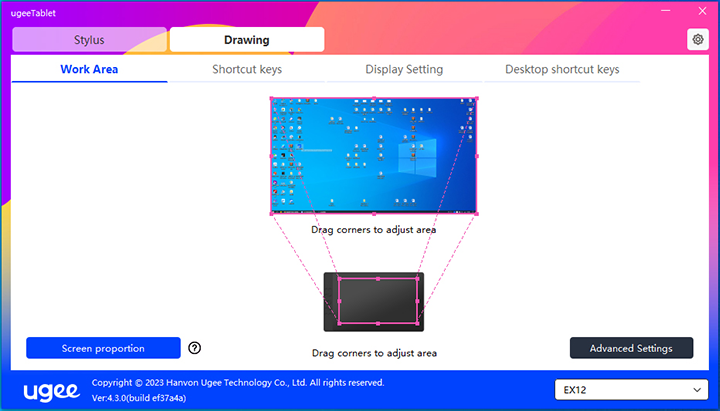
2.3.3.1 Work Area Settings
Go to Work Area to define the mapping between the device's Work Area and the screen display area.
Screen:
If multiple monitors are used in copy mode, the Work Area of the device will be mapped to all monitors. When the pen moves in the Work Area, the cursor on all monitors will move simultaneously.
If multiple monitors are used in extended mode, go to monitor tabs to select one of the monitors that the Work Area of the device will be mapped to.
There are two available options to set the monitor mapping area:
Drag to select: Drag the cursor from one point to another on the Screen icon.
Select screen area: Click once. Follow the prompt and select the upper left corner position and lower right corner position.
Show monitor number:
Identify all connected monitors. The monitor number will be displayed in the lower left corner of each monitor.
Proportion:
Sync the tablet proportion of your device's Work Area and selected monitor's full display area (e.g., if your monitor's tablet proportion is 16:9, the device's Work Area will be set as 16:9 after clicking on Tablet Proportion).
For example, after selecting tablet proportion, if you draw a circle on the device, a circle will appear on the screen, but some parts of the Work Area may not be used; if tablet proportion is not selected, an ellipse would appear on the screen.
Pen Tablet/Display
You can set the Work Area of current device. The driver enables you to set the Work Area of the device in the following ways:
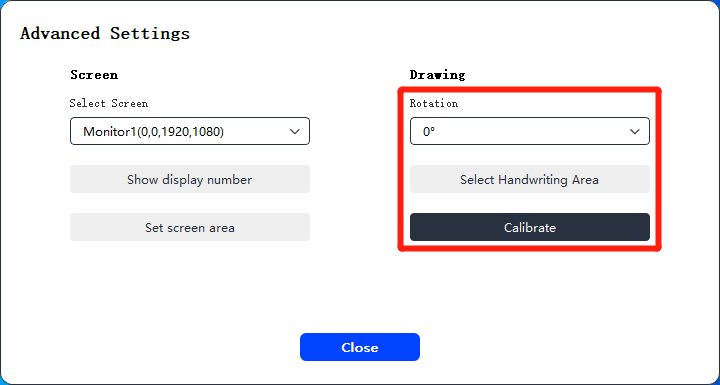
There are two ways to customize the handwriting area.
Drag to select: Drag the cursor from one point to another on the Device.
Select handwriting area: Click once. Follow the prompt and select the upper left corner position and lower right corner position with your stylus.
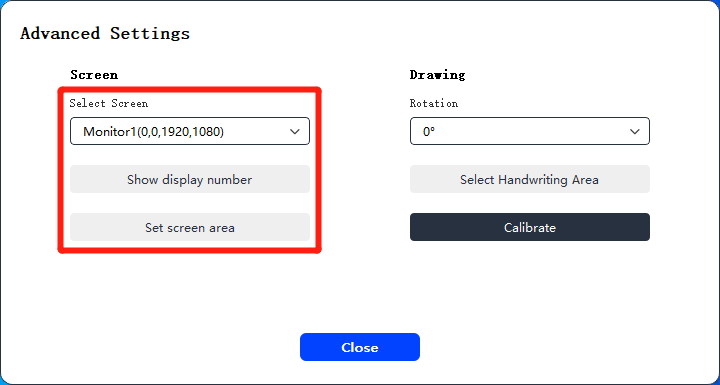
Calibration
Click on the crosshair cursor at the prompted position to calibrate the offset between the stylus and cursor.
Rotation settings:
You can set the device to 0°, 90°, 180° or 270°. Rotate the device to the corresponding direction after setting the rotation.
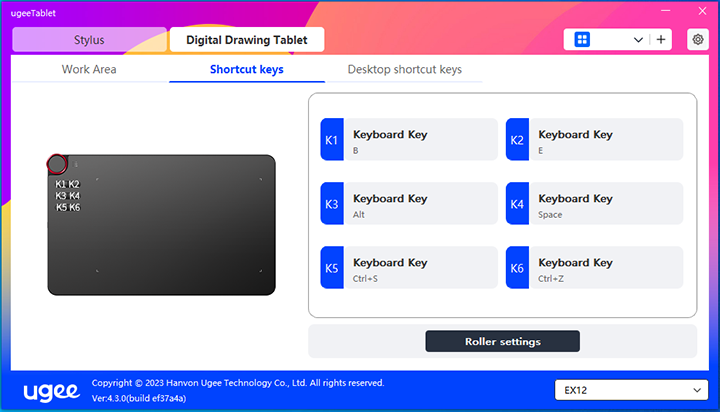
2.3.3.2 Pen Tablet/Display Shortcut Keys
The position and number of keys will differ due to product model. EX12 is used here for illustrative purposes.
The usage and functions are the same as the pen shortcut keys. See section 1.3.2.1.
Roller:
Some product models come with a roller. The "Roller" button is shown on the Shortcut Keys page. Click to edit Roller settings.
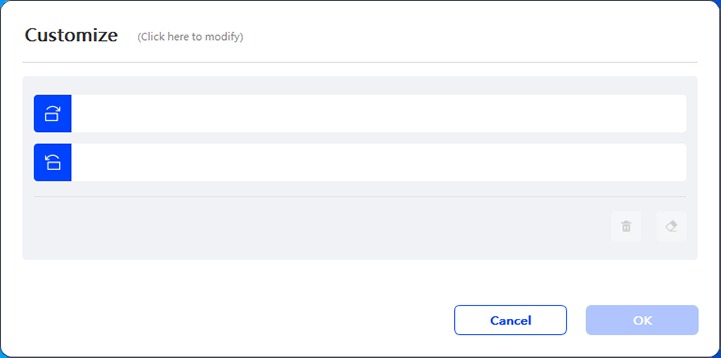
You can adjust the four parameters: Zoom, Scroll, Brush Size, Rotate.
You can also customize or disable the above parameters. Choose to rotate clockwise or counterclockwise to customize parameters.
2.3.3.3 Display settings
Adjust the drawing monitor's color temperature, brightness, and contrast.
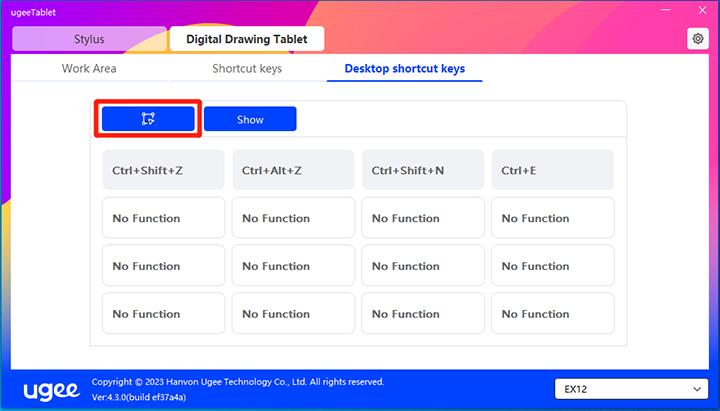
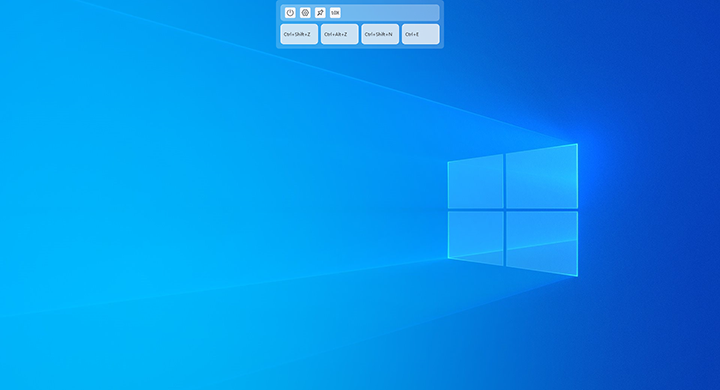
2.3.3.4 Desktop shortcut keys
It is a module of shortcut keys displayed on the ugee drawing monitor or computer display (for the ugee drawing tablet).
Select: Set the number of shortcut keys that need to be displayed. A maximum of 16 key values can be set. Each key value can be customized.
Show: After clicking, display shortcut keys on the desktop. (As shown below.)
After the driver is installed, it can also be activated by the physical shortcut key on the drawing monitor/tablet (which can be customized in the driver shortcut key settings). For example: The default K8 button on the ugee UE16 drawing monitor can enable or disable the desktop shortcut key.
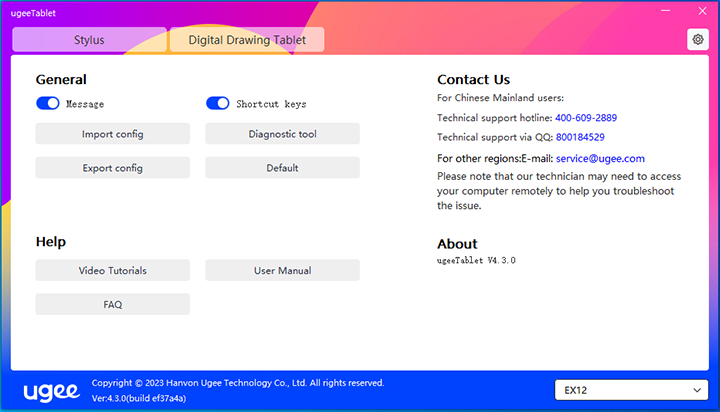
2.3.4 Driver Settings
Message:
After closing, the key status prompt will not be displayed at the bottom of the screen when a key is pressed.
Shortcut keys:
After closing, disable the functions of all keys on the device.
Import config:
You can import configured shortcut keys and other settings.
Export config:
Export saved settings in a configuration file. A pop-up window will appear to notify you when the configuration file has been exported successfully.
Diagnostic tool:
If you encounter any issues while using the driver, please use the diagnostic tool to check hardware/environmental data for troubleshooting. If you contact our customer or technical support, this data will also be helpful to our staff in assisting you.
Default:
Restore all settings, such as shortcut keys, work area, and display screen settings, to their default values.
Video tutorials:
After clicking, navigate to the "Watch Tutorial" page through the computer's browser.
User manual:
After clicking, navigate to the "Search Model" page on the official website through the computer's browser.
FAQ
After clicking, navigate to the "FAQ" link on the official website through the computer's browser.
2.3.5 Applications and Others
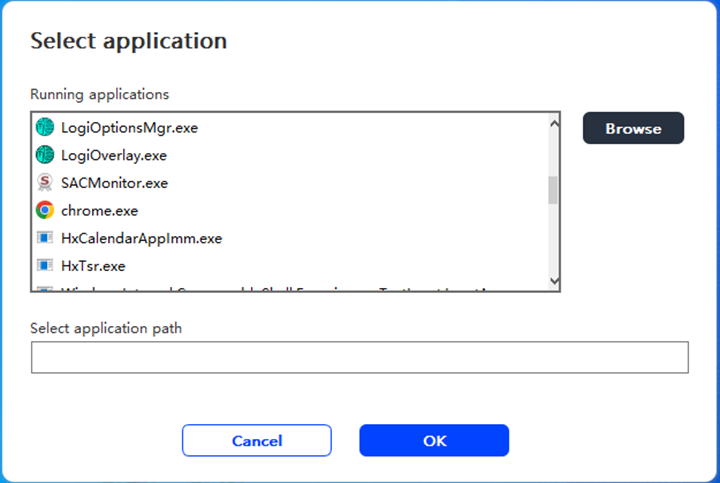
2.3.5.1 Add Application
Click the "+" icon in the upper right corner to add an application.
Select the application from the list of installed applications, or click "Browse" and select the application path.
Next, click OK to add the selected application.
2.3.5.2 Delete Application
Click on the drop-down menu and select the application. Then click on the "x" in the top right corner to delete the application.
2.4 Uninstallation
2.4.1 Windows
Go to Start -> Settings -> Apps -> Apps & Features, find "ugeeTablet" and then left-click "Uninstall" as per prompts.
2.4.2 MacOS
Go to "Applications" and locate "ugeeTablet". Click on "ugeeTabletUninstall" and follow the prompts to uninstall.
2.4.3 Linux
Deb: Enter command sudo dpkg -r ugee-pentablet and execute the command.
Rpm: Enter command sudo rpm -e ugee-pentablet and execute the command.
Tag.gz: Unzip file. Enter command sudo. Drag uninstall.sh to the window and execute the command.
3.1 The drawing software cannot detect pen pressure.
Please confirm if the drawing software supports pen pressure.
Visit the ugee website to download and install the latest driver and test if the pen pressure is working normally.
Before installation, please close all antivirus and graphics software.
If other brand tablet/screen drivers are installed on the computer, please uninstall them first.
Restart the computer after installation.
If pen pressure is working normally, (Windows: Ensure Windows Ink is enabled in the driver pen settings, then open the drawing software to test).
3.2 Lag or delay in drawing.
Check if your computer configuration (CPU & GPU) meets the recommended requirements of the installed drawing software, and refer to the FAQs on the drawing software's official website for suggestions on optimizing related settings.
3.3 The display screen shows no image.
Ensure the power supply is properly connected.
Check if the connection cables are properly connected.
Check if the power indicator light is on. If not, check the connection cables and restart the device.
If the signal is unstable, check if the cable connections are secure.
3.4 The computer cannot recognize the device.
Check if the computer's USB port is functioning properly. If there is an issue, try using a different USB port.
3.5 The drawing pen is not working.
Ensure you are using the pen that came with the product.
Install the driver and check if the pen settings in the driver are normal.
3.6 Pen tip offset.
Use the driver to recalibrate and confirm.
If you encounter an issue with your product, please check our FAQs at https://www.ugee.com/faq to see if then can help.
If you need any further assistance, please contact us at:
Website: www.ugee.com
Email: service@ugee.com
Please select your country/region
North America
South America
Oceania
Europe